Wednesday, November 26, 2014

Here at the "House of Atlas" we have been very busy!!! We have both bathrooms up and running and usable! :)

WOOT WOOT!

Not only have we been extremely busy but we have also had a lot of fun getting our bathrooms complete. In the washroom we have a shower/tub, sink, toilet, hot water heater and washer/dryer. The wash room sees a lot of dirty clothes and washes a lot of dirty butts. :) With 5 kids... I did not want to down size on the washer and dryer. I felt that we needed full size units and let alone... it is running all the time. We also decided that we wanted and needed a 65 Gallon water heater. With total of 7 of us... we did not want to run out of hot water if we needed to take back to back showers. We also decided to go electric so that we did not have to vent a gas water heater. Our goal was to put NO holes through the roof for vents. We didn't have the room to put vents through the roof anyways because the kids lofts are there. The vents would have been going straight through their space. So... we did electric water heater.


We had the opportunity to use some items that we have carried around for awhile. Items that most people considered junk or trash.... but we see STUFF!  :P We used TJ's great grandfathers suitcase as our vanity in the washroom. Harvey Jones carried that suitcase for years and would be tickled to see it as our vanity top. We also bought a little galvanized bucket for 5.99 at Tractor Supply here in Harrison AR. We then picked out the faucet at Home Depot along with a sink drain setup. Then... we put them all together. After it is said and done... we have $70 invested in the sink vanity.


We did a very similar set up in the main bathroom. However, we found an awesome old wash tub at the flea market. We paid $12 for the wash tub. TJ's pawpaw had the old wood hoarded up in the barn. We bought the drain setup at Home Depot and the faucet from Lowes.  With a tiny house, you also have less storage of course. For our main bathroom vanity, we used an old toolbox that TJ had. I cleaned it up real nice and lined the drawers with mats. We used an old Mobil Oil Can to hide the plumbing and used the other piece next to the toilet for extra toilet paper and cleaners.


Oh and I can't forget the shower/tub excitement! We had to make custom shower rings for the tubs. This only took a little thinking... we wanted to make sure that the shower curtain rings would moves all around the ring and be free from the anchors. So, this is what TJ designed and made.


Sunday, November 2, 2014

Recycled and beautiful!

On July 31st, 2014 I shared a post titled: To the Wind of Change

We had decided where to build our Tiny House and the huge decision to remove the old chicken house. The decision was hard because TJ's PawPaw had built it and there were several memories made. Of course, We wanted to save all that we could including the tin off of the roof. We knew we wanted to use it in our home and his PawPaw would be just tickled to see him save it and use it..... that is just what we did.


We pulled each sheet off of the old chicken house and knew it would be perfect in our living room. What we didn't know was.... there was just enough!!! Each sheet was 12 foot long and we were able to cut those in half and cut smaller sections for the shorter sides. There were just enough sheets for us to use and finish the living room ceiling! What a blessing!


Tj's PawPaw kept everything! We are so thankful that he did!! We found perfect pieces to finish out the ceiling and tie it all together. Here are just a few pictures.


I can't tell you how excited we were to have all the foam insulation covered! It started to feel like a real home and most importantly... OUR HOME!

Monday, October 27, 2014

Much needed toilet!

Hope you enjoy the plumbing photos.... I sure am! :) A running toilet and functioning washroom was very much needed! Thanks to Daniel Caudle and his brothers! We are up and running!


Saturday, October 11, 2014

It may be little... but it is wired like a biggen!


We wanted to catch everyone up on our electrical! Our home is wired and lights are on!!! WOOHOO!! That has been a huge step for us! We may have more outlets needed but we won't be running extension cords. :) Running the wire was a task and I can't be more thrilled that it is behind us.


Once we figured out where the HEART of our home would be... we placed the electrical panel and started the most pain ordeal... running the wire through the walls. We did this before we had the insulation sprayed but I forgot to post it! :)


Kitchen
3 Light switches
4 Recessed Lights
11 Outlets
Washroom
2 Light switches
4 Recessed Lights
8 Outlets

Living Room
3 Light switches (2 for lofts)
13 Outlets

Master Bedroom and Bath
4 Light switches
6 Recessed Lights
14 Outlets

5 Outside outlets around the house
2 Porch Lights
1 Pull chain Light under house

Each loft has 10 Outlets and one Recessed Light and Light switch. The light switch will be a 2-way switch so that the kids can turn the light on or off down stairs or as they are going up into the loft, etc. 

Thursday, October 2, 2014

Pine beneath our feet (only ended up at 1.25 sq ft)


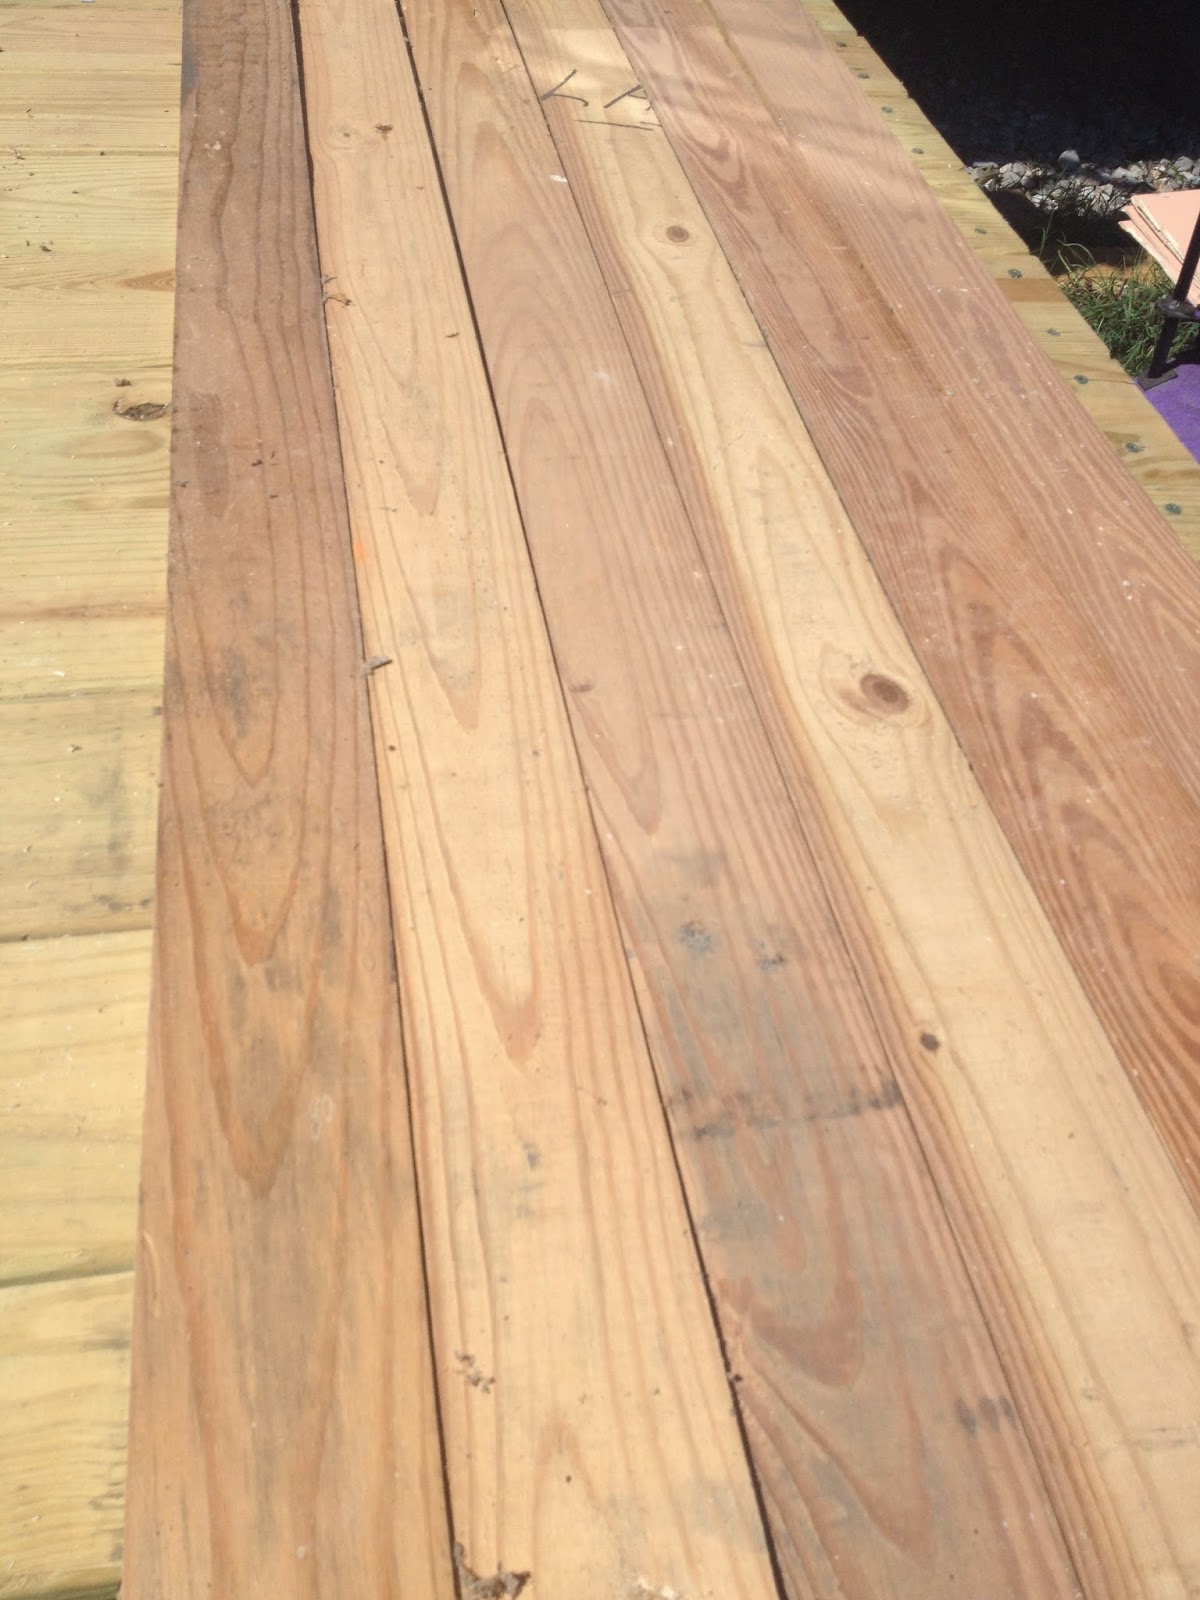
 We wanted flooring that would last our lifetime. Flooring that gave us a solid feeling and a sense of old school. We decided to use Southern Yellow Pine 1x6x12. Overall, after screws and A LOT of hard work.... we ended up with $1.25 per sq ft!! The floors turned out perfect!!! We wanted to stain the floors but decided not to... for the main reason of time so we just coated the floors with a Water Base Polyurethane. The floors got 3 coats of the polyurethane and it gave the floors a great shine! We wanted to make sure the coats were thick around the bathtubs for any "spills."


The Polyurethane went on smooth and easy! It was a thin milk type texture and look and then dried clear. The gallon said "Fastest Drying" and it was! It only took an hour for each coat to dry.... that was for us to walk on it. We let it dry overnight before we did heavy work on the walls and ceilings. Overall, it was easy and we are pleased! 


Sunday, September 28, 2014

TJ's pawpaw had these old boards that were stashed in the back of the barn. These are boards that he stripped off of old pallets at least 20 years ago. Thanks for these old boards PawPaw.... you kept them for a reason!


 We used the old pallet boards for our wall treatment in our master bathroom. The wall turned out great. We are just so tickled that the wood TJ's pawpaw saved was just enough!!!! We used all the pallet wood except for one piece!! He saved it for a reason and it was perfect!!


Saturday, September 27, 2014

Time to check "INSULATION" off of the to-do list!

We had "Shawn the Insulator" out of Berryville AR come and spray our insulation. It was FAST and EASY.... EASY for us. :) He insulated the roof with the spray foam insulation and it took just a couple of hours. They were in and out! Came back on Monday and sprayed Cellulose for the exterior walls and our bedroom walls along with our ceilings for extra insulation and help with sound proof. We will have kids crawling above our heads. For the Cellulose.. it just took a few hours too! I couldn't believe how fast they were. We were able to open up the doors to help vent and go to work immediately after they finished. Hiring Shawn and his team to insulate was such a smart move! This was less work for us which gave us the much needed time to work on the electric outside and the water line coming in the house.

Here is a video of the spray foam insulation in the lofts on the ceilings.


Also here are a few clips of the Cellulose insulation sprayed into the walls.